Laravel Breeze is a lightweight starter kit for Laravel that provides authentication, registration, email verification, and password reset features out of the box. It uses Laravel’s built-in authentication features and provides a clean, minimalistic starter template for your project. In this tutorial, we’ll go through the steps to install Laravel Breeze in your Laravel project.
Prerequisites
Before we start, make sure you have the following:
A Laravel project (version 8.x or higher)
Composer installed on your system
If you don’t have a Laravel project yet, you can create one by running the following command in your terminal:
laravel new your-project-name
Step 1: Install Laravel Breeze
To install Laravel Breeze, open your terminal and navigate to your project directory. Then, run the following command:
composer require laravel/breeze --dev
This will install Laravel Breeze and its dependencies in your project. The –dev flag is optional and indicates that Laravel Breeze is only needed for development purposes.
Step 2: Run Breeze Installer
Once Laravel Breeze is installed, you can run the installer to add authentication to your Laravel project. Run the following command in your terminal:
php artisan breeze:install
This command will create the necessary authentication views, routes, and controllers in your Laravel project.
Step 3: Run Database Migrations
Before we can use authentication in our Laravel project, we need to run the database migrations. Run the following command in your terminal:
php artisan migrate
This will create the necessary tables in your database for authentication to work.
Step 4: Build Frontend Assets
Laravel Breeze uses Tailwind CSS for its frontend styling. To build the frontend assets, run the following command in your terminal:
npm install && npm run dev
This will install the necessary Node.js packages and build the frontend assets for your Laravel project.
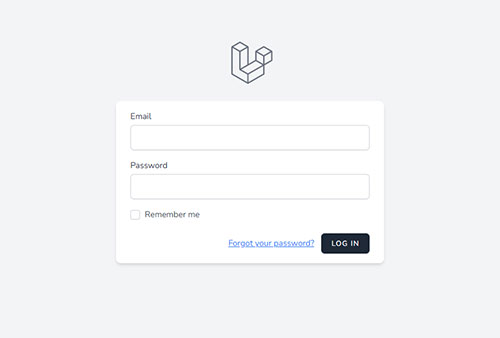
Step 5: Test Authentication
Now that Laravel Breeze is installed and configured in your Laravel project, you can test authentication by visiting the /login or /register routes in your web browser.
Conclusion
In this tutorial, we went through the steps to install Laravel Breeze in your Laravel project. We installed Laravel Breeze, ran the installer, ran database migrations, built frontend assets, and tested authentication in our Laravel project. Laravel Breeze is a great starting point for any Laravel project that requires authentication, and it provides a clean, minimalistic template to build on top of.